Create symbologies With ArcMap
symbology One of the first things you need to have clear when working with ArcMap . Because after drawing data, we have to define its appearance. This chapter, helps us learn how to apply symbology to layers and how to choose symbology types.
First we need to :
- Add the Shapefile to the ArcMap project;
- Click on ‘Add data’, browse to the shapefile and add it.
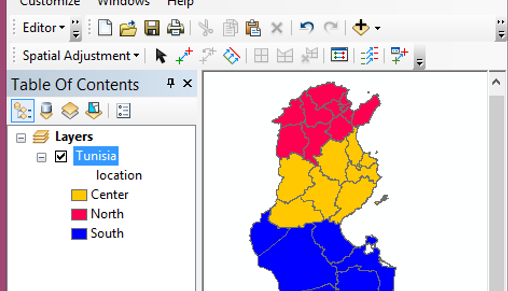
- Add the shapefile to the ArcMap
- Apply a symbology to the layer
- Display labels
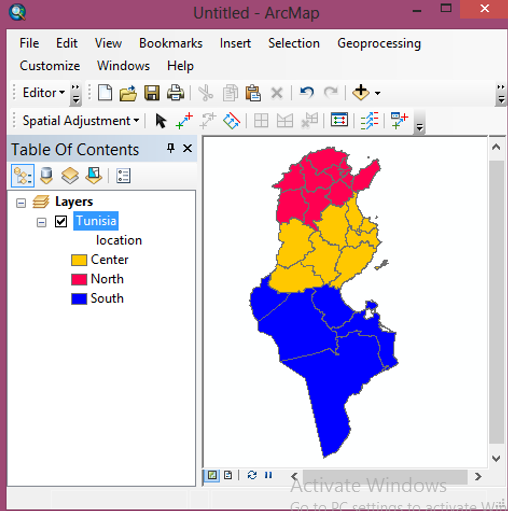
- Add the Shapefile to the ArcMap;
- Apply a symbology to the layer;
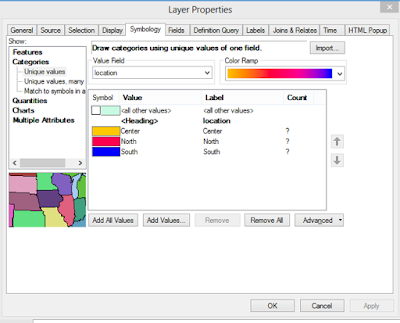

In the “Table of Contents”, right click on the shapefile and choose ‘Properties’. In the ‘Table Properties dialog box’ choose ‘Symbology’ tab. Select ‘Categories’ then ‘Unique Values’. In the ‘Value field’ choose the field to apply the symbology. Choose the ‘Color Ramp’ then click on add all values. We can remove a symbol using ‘Remove’ button after selecting it. To rename a label, without modifying the attribute in the ‘Table of Content’. Double click on the ‘label’ column and rename it.

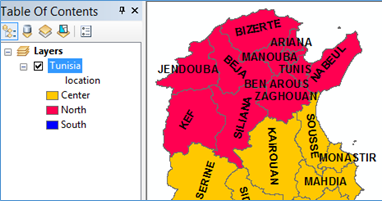
- Let’s display the labels
To save a symbology in ArcMap project, right click on the layer, and choose ‘Convert Symbology to representation’. Change the name of the representation then click on ‘OK’.
أكثر...